
A comprehensive guide providing detailed installation steps, key features, and configuration options for the Honeywell Pro 3000 thermostat, ensuring easy setup and optimal performance.
Overview of the Honeywell Pro 3000 Thermostat
The Honeywell Pro 3000 is a non-programmable digital thermostat designed for simplicity and ease of use. It offers precise temperature control and compatibility with a wide range of heating and cooling systems, including 1 Heat/1 Cool and 2 Heat/1 Cool heat pump systems. With a user-friendly interface, it allows manual temperature adjustments and features a backlit display for clear visibility. The thermostat is ideal for homeowners seeking a reliable, straightforward solution for managing their home’s climate. Its compact design and easy installation make it a popular choice for upgrading or replacing existing thermostats. The Pro 3000 ensures efficient energy use and consistent comfort, making it a practical option for modern homes.
Key Features and Benefits of the Honeywell Pro 3000 Series
The Honeywell Pro 3000 Series offers a range of features that enhance comfort and efficiency. It includes a backlit display for easy readability, manual operation for straightforward temperature control, and compatibility with various HVAC systems. The thermostat supports 1 Heat/1 Cool and 2 Heat/1 Cool heat pump configurations, making it versatile for different setups. Its non-programmable design simplifies use, while the push-button controls ensure intuitive navigation. The Pro 3000 promotes energy efficiency by maintaining consistent temperatures, reducing heating and cooling cycles. Additionally, it is designed for easy installation, with a compact wallplate and clear wiring instructions, making it a practical upgrade for any home. This thermostat balances functionality and simplicity, delivering reliable performance for everyday use.

Pre-Installation Requirements

Verify system compatibility, ensure electrical requirements are met, and gather necessary tools and materials before starting the installation of the Honeywell Pro 3000 Series thermostat.
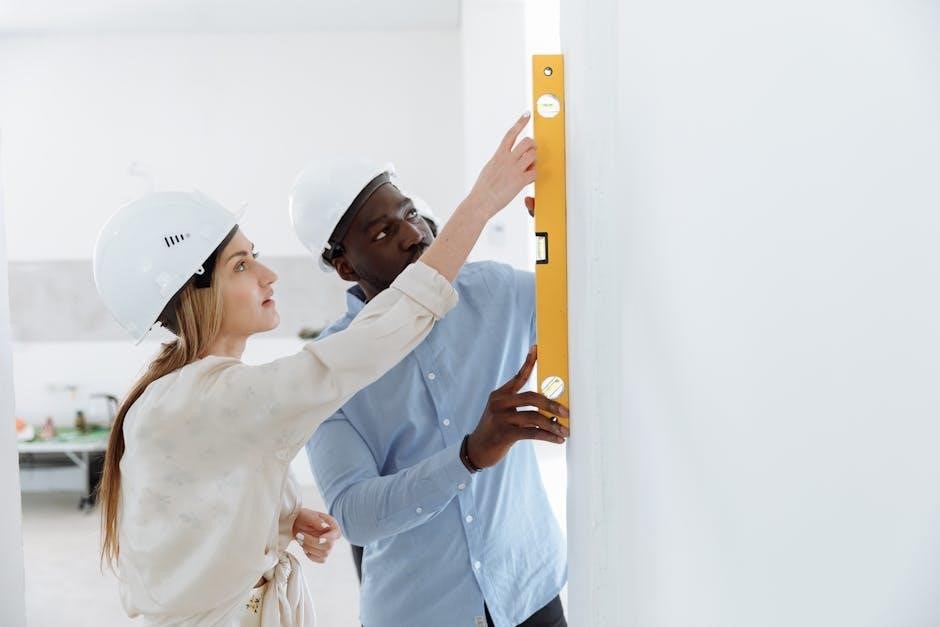
Compatibility Check for Heating and Cooling Systems
Ensure the Honeywell Pro 3000 thermostat is compatible with your HVAC system. Verify voltage requirements, wiring configuration, and system type (heat pump, furnace, or AC). Check if your system supports the thermostat’s features, such as 2-stage heating or cooling. Refer to the manual for supported models, including TH3110D for 1 Heat/1 Cool systems and TH3210D for heat pumps. Confirm compatibility with your system’s electrical specifications to avoid installation issues and ensure proper functionality. Proper compatibility ensures optimal performance and prevents potential system malfunctions. Always cross-reference your system specifications with the thermostat’s requirements before proceeding.
Tools and Materials Needed for Installation
For a successful installation of the Honeywell Pro 3000 thermostat, gather the necessary tools and materials. These include a drill, screwdriver set, wire strippers, pliers, a pencil, and a level. Ensure you have the correct screws, wall anchors, and wires compatible with the system. Refer to the manual for specific wiring requirements and compatible materials. Safety gear like gloves and goggles is recommended. Having all tools and materials ready ensures a smooth and efficient installation process. Proper preparation prevents delays and ensures the thermostat is mounted securely and functions correctly. Always follow the manual’s guidelines for tools and materials to avoid installation errors.
Installation Process
The installation process involves wallplate installation, wiring connections, and thermostat mounting. Follow the manual for step-by-step instructions to ensure proper setup and functionality.
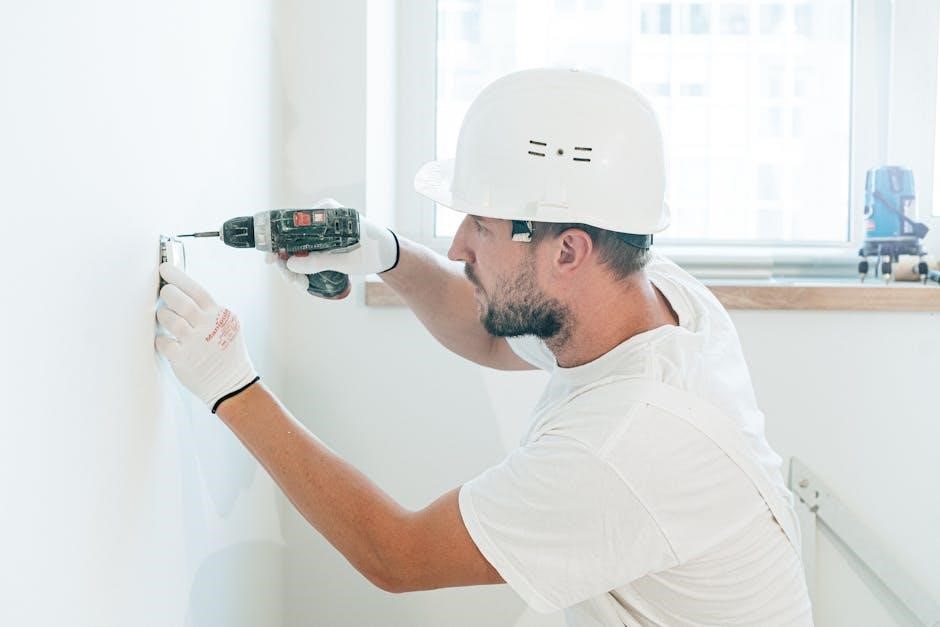
Wallplate Installation Steps
Begin by removing the wallplate from the thermostat by pulling gently from the bottom. Next, pull the wires through the wire hole in the wallplate. Position the wallplate on the wall, ensuring it is level, and mark the hole positions with a pencil. Drill holes at the marked locations and secure the wallplate using the provided screws. Make sure no wires are touching each other to avoid short circuits. Finally, ensure the wallplate is flush against the wall for a proper fit. Follow these steps carefully to complete the wallplate installation successfully.
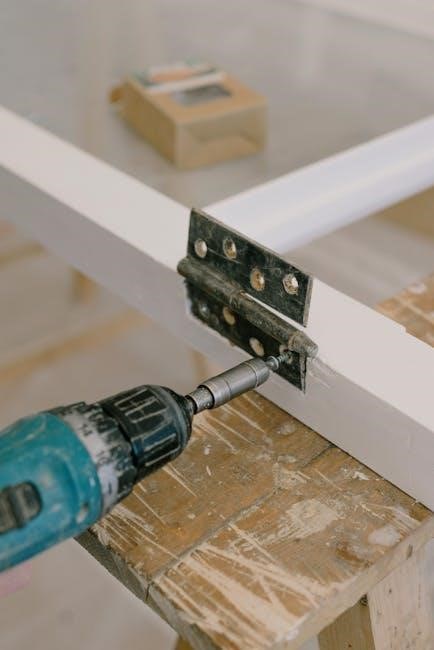
Wiring Connections and Configuration
Ensure the power to your HVAC system is off before starting. Identify and label the wires (R, W, Y, G, C, Rh) based on their functions. Connect each wire to the corresponding terminal on the Honeywell Pro 3000 thermostat, matching the system type (heat pump or standard). Secure all connections tightly to prevent loose wires. Double-check the wiring configuration to avoid mismatches. Refer to the manual for specific terminal assignments and system compatibility. Once wired, proceed to configure the thermostat settings to match your HVAC system’s operation mode (heat, cool, or auto). This step ensures proper communication between the thermostat and your heating/cooling system, allowing for accurate temperature control and efficient operation.

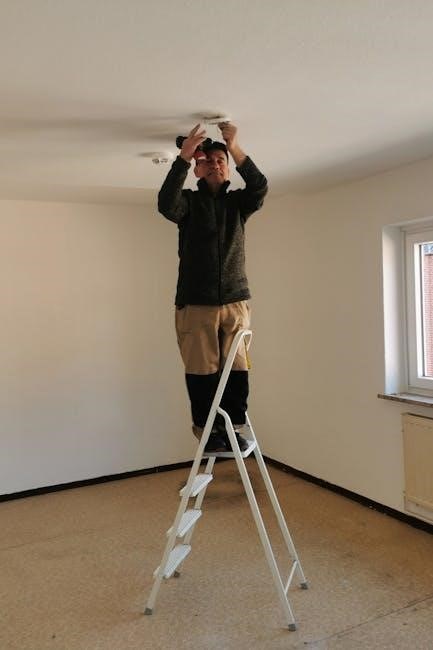
Mounting the Thermostat and Final Adjustments
Once the wallplate is securely installed, attach the Honeywell Pro 3000 thermostat by aligning it with the wallplate and snapping it into place. Ensure the thermostat is level and evenly mounted. Tighten the screws gently but firmly to secure it. After mounting, perform a final check to ensure all wires are properly connected and no loose ends remain. Power on the system and test the thermostat’s basic functions to confirm correct operation. Adjust the display settings as needed, such as brightness or orientation, for optimal visibility. Refer to the manual for any system-specific adjustments. Proper mounting and final checks ensure reliable performance and accurate temperature control.
Post-Installation Setup
Configure the thermostat to match your system, set up manual operation, and customize basic functions for optimal performance and personalized temperature control.
Configuring the Thermostat for Your System
After installation, configure the Honeywell Pro 3000 by setting the SYSTEM switch to match your heating or cooling system. Ensure the thermostat is in the correct mode (Heat or Cool) for your setup. Adjust settings to customize temperature control and system operation. Use the up or down buttons to set desired temperatures manually. Ensure all configurations align with your home’s specific HVAC requirements for efficient performance. Refer to the manual for detailed guidance on system-specific settings and customizations. Proper configuration ensures optimal functionality and energy efficiency.
Setting Up Manual Operation and Basic Functions
To set up manual operation, ensure the SYSTEM switch is in the correct mode (Heat or Cool) for your system. Use the up and down buttons to adjust the temperature manually until reaching your desired setting. The thermostat will display the current temperature and the setpoint. For basic functions, familiarize yourself with the display interface, which shows the current mode, temperature, and system status. The Operating Mode can be set to Manual, allowing you to enter manual values. Additionally, the thermostat features a low battery warning, prompting you to replace batteries before they deplete. This ensures continuous operation and maintains your preferred settings effortlessly.
Maintenance and Troubleshooting
Regularly check and replace batteries when the REPLACE BATT warning flashes. Ensure proper wire connections and clean the thermostat face for optimal performance and troubleshooting common issues.
Regular Maintenance Tips for Optimal Performance
Regular maintenance ensures the Honeywell Pro 3000 thermostat operates efficiently. Replace batteries promptly when the REPLACE BATT warning appears to avoid system disruptions. Clean the thermostat display and sensors with a soft cloth to maintain accuracy. Check wiring connections for any signs of wear or corrosion, addressing issues immediately. Schedule annual professional inspections to verify system compatibility and performance. Proper maintenance extends the lifespan and ensures consistent heating and cooling control, enhancing overall comfort and energy efficiency.
Common Issues and Solutions
Common issues with the Honeywell Pro 3000 include battery depletion warnings and system mode misconfiguration. Replace batteries when the REPLACE BATT alert appears. For system mode errors, ensure the SYSTEM switch matches your system type (Heat/Cool). If the display is unresponsive, reset by removing batteries for 10 seconds. Address wiring issues by verifying connections and consulting the manual. Consult the troubleshooting section for detailed solutions to ensure optimal functionality and resolve issues promptly, maintaining reliable temperature control and system efficiency. Regular checks can prevent these issues, ensuring smooth operation.