Kenmore Elite Refrigerator User Manual: A Comprehensive Guide
This manual provides detailed instructions for Kenmore ELITE refrigerators‚ specifically models 795.7104 and 795.7103‚ covering installation‚ operation‚ maintenance‚ and advanced features.
Welcome to the world of Kenmore Elite refrigerators‚ designed to provide superior food preservation and convenience for your modern lifestyle. These refrigerators‚ including popular models like the 795.7104 and 795.7103‚ represent a commitment to quality and innovation in home appliances.
This user manual serves as a comprehensive guide to understanding and utilizing all the features your Kenmore Elite refrigerator offers. From initial setup and daily operation to troubleshooting and advanced settings‚ we’ll cover everything you need to know to maximize performance and longevity. Kenmore Elite refrigerators are built with advanced cooling technology‚ spacious interiors‚ and thoughtful design elements.
Whether you’re a first-time user or a seasoned appliance owner‚ this manual will empower you to confidently operate and maintain your refrigerator‚ ensuring years of reliable service and optimal food freshness. We encourage you to read through this guide thoroughly before using your new appliance.
Understanding Your Model Number (e.g.‚ 795.7104‚ 795.7103)
Your Kenmore Elite refrigerator’s model number‚ such as 795.7104 or 795.7103‚ is crucial for accessing specific information regarding your appliance. This unique identifier unlocks access to detailed specifications‚ parts diagrams‚ and tailored support resources.
Locate the model number on the refrigerator’s serial plate‚ typically found inside the refrigerator compartment on a side wall‚ or on the exterior back of the unit. Having this number readily available when contacting customer support or ordering replacement parts will significantly expedite the process.
The model number also indicates specific features and capabilities of your refrigerator. Different numbers correspond to variations in size‚ configuration‚ and included technologies. Referencing your model number in this manual ensures you’re accessing instructions relevant to your specific Kenmore Elite refrigerator. Keep it safe for future reference!
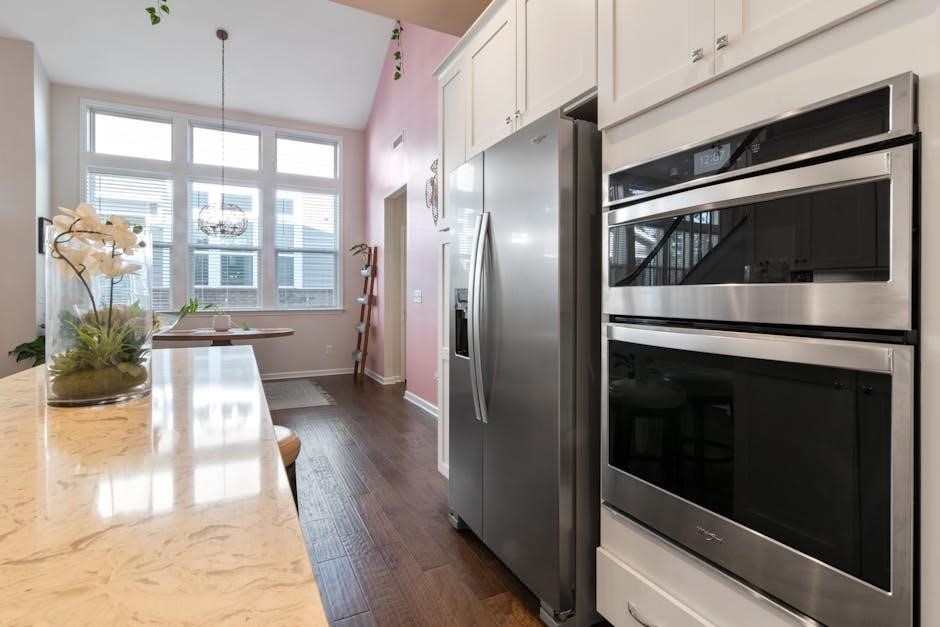
Refrigerator Features & Components
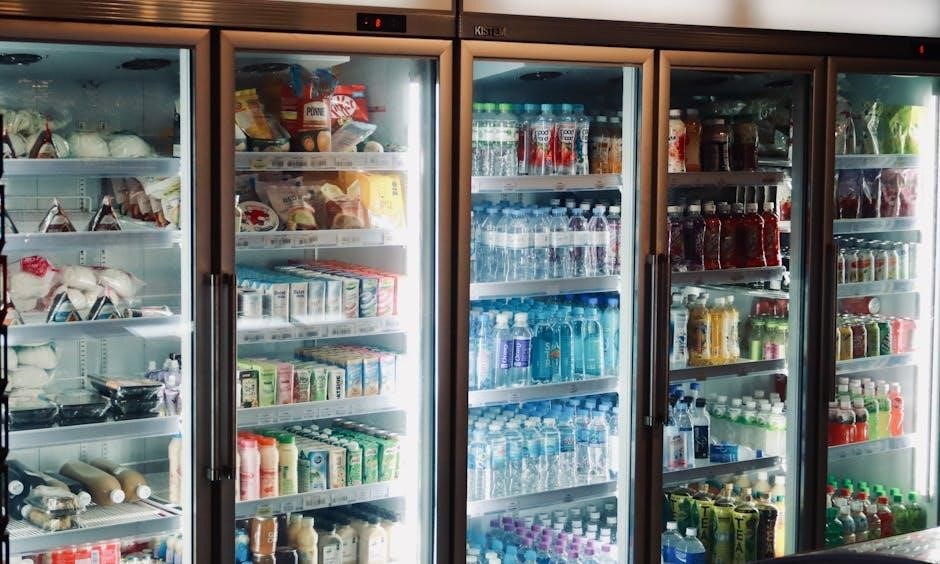
Kenmore Elite refrigerators boast a range of features‚ including spacious interiors‚ advanced cooling systems‚ and convenient components for optimal food preservation and organization.
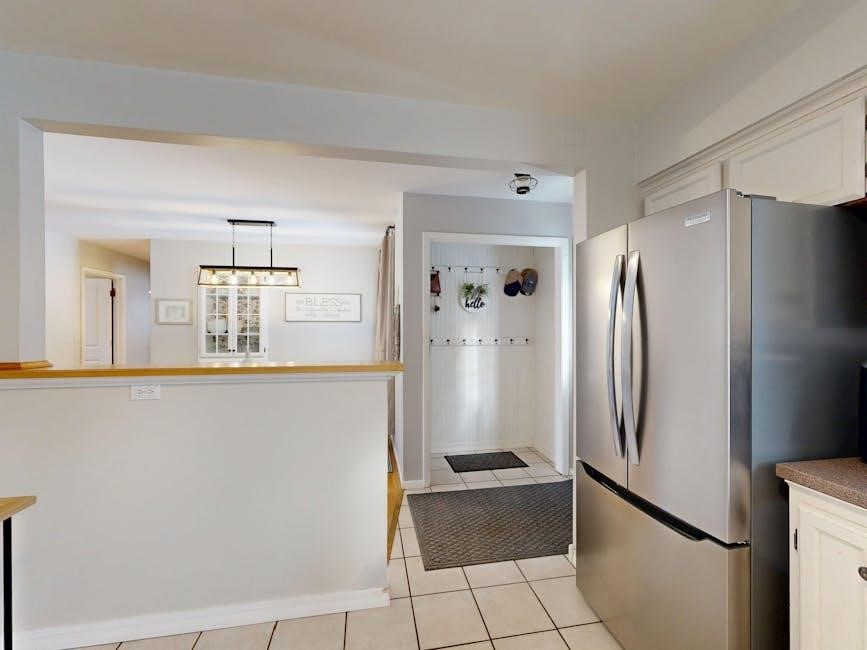
Exterior Features: Doors‚ Handles‚ and Controls
The exterior of your Kenmore Elite refrigerator is designed for both style and functionality. Doors are typically constructed with a durable finish‚ resisting fingerprints and smudges for easy cleaning. Handles are ergonomically designed for comfortable grip and smooth operation‚ often featuring a stainless steel or complementary finish.
Control panels‚ located on the exterior‚ provide access to temperature settings for both the refrigerator and freezer compartments. These controls may be electronic touchpads or traditional dials‚ offering precise temperature adjustments. Some models include displays showing current temperature settings and diagnostic information. Door hinges are robust‚ ensuring smooth opening and closing‚ and may feature adjustable settings for perfect alignment. Pay attention to the door seals; they are crucial for maintaining optimal cooling efficiency and preventing energy loss. Inspect them regularly for damage or gaps.
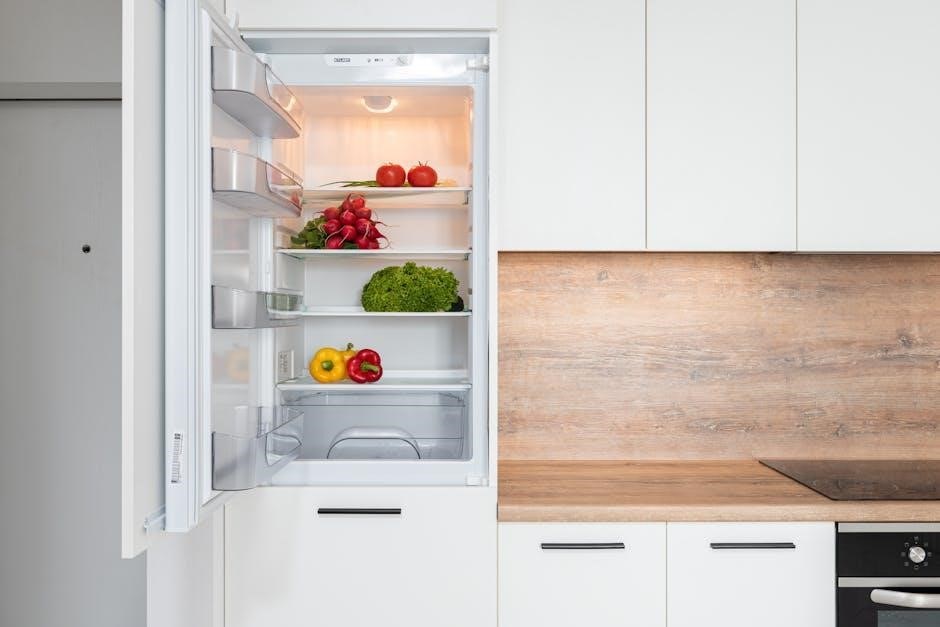
Interior Features: Shelves‚ Drawers‚ and Bins
The interior of your Kenmore Elite refrigerator is thoughtfully designed for optimal food storage and organization. Adjustable shelves‚ often made of spill-proof glass‚ allow you to customize the space to accommodate items of various heights; Humidity-controlled crisper drawers help extend the freshness of fruits and vegetables by maintaining ideal moisture levels.
Deep freezer drawers provide ample space for frozen goods‚ and often include dividers for organized storage. Door bins‚ in various sizes‚ are perfect for storing condiments‚ beverages‚ and smaller items. Some models feature a deli drawer‚ specifically designed for cheeses and meats. Removable bins simplify cleaning and allow for flexible arrangement. LED lighting illuminates the interior‚ providing bright and energy-efficient visibility of all stored contents‚ ensuring easy access and preventing food from being forgotten.
Water and Ice Dispenser Overview
Your Kenmore Elite refrigerator features a convenient water and ice dispenser located on the exterior door. The dispenser offers chilled‚ filtered water and a choice of ice types – cubed and crushed – providing refreshment at your fingertips. An electronic control panel allows you to select your desired option.
The ice maker automatically produces ice‚ and an ice bin stores a generous supply. The water dispenser utilizes a connected water supply line‚ requiring proper installation and a functioning water filter for optimal performance. Regularly check the filter status indicator to ensure water quality. The dispenser may include features like a “max fill” level indicator and automatic shut-off to prevent spills. Proper maintenance‚ including cleaning the dispenser nozzle‚ is crucial for hygienic operation.
Installation & Setup
Proper installation involves leveling the refrigerator‚ connecting to a water supply for the dispenser and ice maker‚ and installing a new water filter initially.
Initial Setup and Leveling
Before operating your Kenmore Elite refrigerator‚ ensure proper setup and leveling for optimal performance. Begin by removing all packing materials‚ both inside and outside the appliance. Carefully inspect for any shipping damage. Position the refrigerator in its designated space‚ leaving sufficient clearance for ventilation – typically a few inches on the sides and top‚ and at least two inches at the rear.
Leveling is crucial to prevent wobbling and ensure doors close correctly. Use a level to check both side-to-side and front-to-back alignment. Adjust the leveling feet‚ usually located at the bottom corners of the refrigerator‚ by turning them clockwise to raise the appliance or counterclockwise to lower it. Continue adjusting until the refrigerator is perfectly level and stable. A slightly forward tilt can aid door closure. Re-check the leveling after moving food into the refrigerator.
Connecting the Water Supply
Connecting a water supply is essential for the ice maker and water dispenser functions of your Kenmore Elite refrigerator. First‚ locate a cold water supply line with sufficient pressure – typically 30-100 psi. You’ll need a ¼-inch copper or PEX tubing to connect the refrigerator to the water line. Important: Shut off the main water supply valve before beginning any plumbing work.
Using a compression fitting‚ connect the tubing to the refrigerator’s water inlet valve‚ usually found at the back lower portion of the appliance. Ensure a tight‚ leak-proof connection. Then‚ connect the other end of the tubing to the cold water supply line‚ again using a compression fitting. Slowly turn the water supply back on and carefully check all connections for leaks. If leaks are detected‚ tighten the fittings or re-seat the tubing.
Water Filter Installation & Replacement
Maintaining optimal water quality requires regular water filter replacement in your Kenmore Elite refrigerator. The filter is typically located inside the refrigerator compartment‚ often in the upper right corner. To install a new filter‚ gently twist and pull out the old filter – a slight click will usually release it. Align the new filter with the housing and push it in until it clicks securely into place.
Important: After installing a new filter‚ flush the water system by dispensing water for approximately 5 minutes to remove any air or loose particles. Replacement is recommended every six months‚ or sooner if the water flow noticeably decreases. Using genuine Kenmore filters ensures optimal performance and water purity. Discard the used filter responsibly;
Operating Your Refrigerator
This section details how to effectively use your Kenmore Elite refrigerator‚ including temperature adjustments‚ ice maker functionality‚ and convenient water dispenser operation.
Temperature Control Settings (Refrigerator & Freezer)
Your Kenmore Elite refrigerator offers precise temperature control for both the refrigerator and freezer compartments. Adjusting these settings ensures optimal food preservation and prevents spoilage. The control panel‚ typically located inside the refrigerator compartment‚ allows you to set desired temperatures.
For the refrigerator‚ recommended settings generally range between 37°F (3°C) and 40°F (4°C); Lower temperatures are suitable for highly perishable items. The freezer should ideally be set to 0°F (-18°C) to maintain frozen food quality.
Digital models display the set temperature‚ while mechanical models often use a numbered dial. Allow 24 hours for the temperature to stabilize after any adjustment. Avoid frequent temperature changes‚ as this can impact energy efficiency. Remember that placing warm food inside can temporarily raise the internal temperature‚ so allow it to cool before storing.
Using the Ice Maker
Your Kenmore Elite refrigerator’s ice maker automatically produces ice‚ providing a convenient supply for beverages and other needs. Before first use‚ discard the initial few batches of ice to flush the system. The ice maker typically features an on/off switch‚ often located inside the freezer compartment or on the control panel. Ensure the water supply is connected and the water filter is properly installed for optimal ice production.
The ice maker will stop producing ice when the ice bin is full. An ice bin full sensor prevents overflow. If ice production is slow or stops entirely‚ check the water supply line for kinks or freezing. Also‚ verify the ice maker is switched ‘on’.
Periodically clean the ice bin to maintain hygiene. Avoid using sharp objects to remove ice‚ as this can damage the bin. If you plan to be away for an extended period‚ consider turning off the ice maker to conserve water.
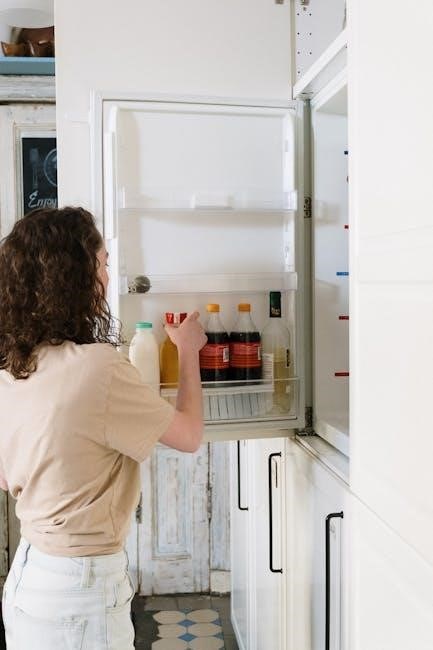
Using the Water Dispenser
The water dispenser on your Kenmore Elite refrigerator provides chilled‚ filtered water on demand. To dispense water‚ simply press your glass against the dispenser paddle. The amount of water dispensed is controlled by how long you hold the paddle. Ensure your glass is properly aligned to prevent spills.
The water dispenser relies on a properly installed and functioning water filter. Regularly replacing the filter (typically every six months) ensures optimal water quality and taste. A low water filter indicator light on the control panel will alert you when replacement is needed.
If the water flow is weak or stops‚ check the water supply line and ensure the water filter isn’t clogged. Also‚ verify the water shutoff valve is fully open. Avoid dispensing water with carbonated beverages‚ as this can damage the dispenser.
Maintenance & Troubleshooting
This section details routine cleaning procedures and offers solutions for common issues like cooling problems‚ dispenser malfunctions‚ and ice maker difficulties.

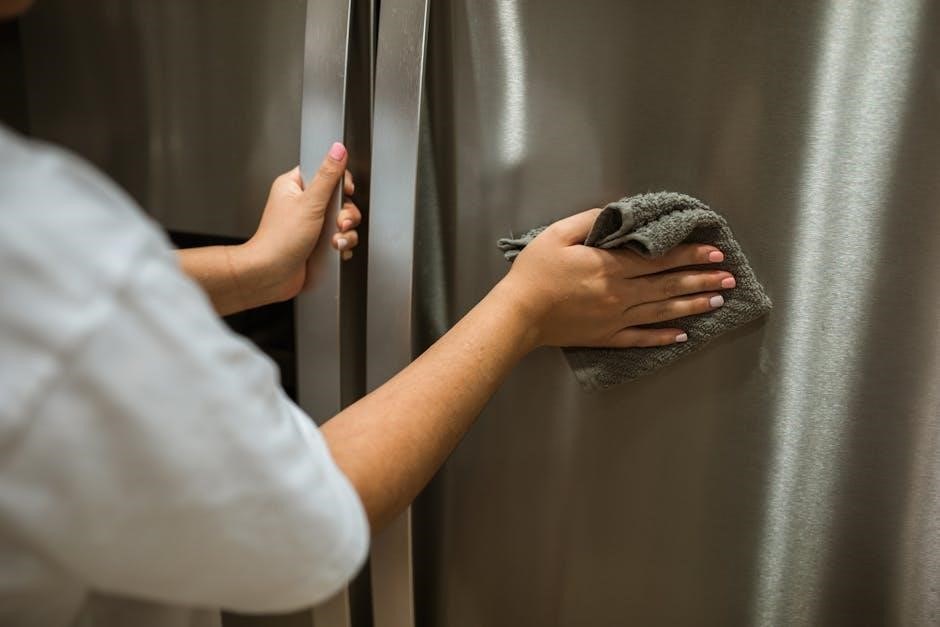
Cleaning Your Refrigerator
Regular cleaning ensures optimal performance and hygiene. Before cleaning‚ always disconnect the refrigerator from the power supply. Remove all food items‚ shelves‚ drawers‚ and bins. Wash these removable parts with warm‚ soapy water‚ then rinse and dry thoroughly before replacing them.
For the interior surfaces‚ use a mild solution of baking soda and water. Avoid abrasive cleaners‚ as they can damage the surfaces. Wipe down the walls‚ door seals‚ and interior components. Pay close attention to spills‚ promptly cleaning them to prevent staining and odor buildup.
The exterior of the refrigerator can be cleaned with a damp cloth and mild detergent. Polish stainless steel surfaces with a stainless steel cleaner for a streak-free finish. Regularly clean the water and ice dispenser area to maintain sanitary conditions. Don’t forget to wipe down the top and sides of the refrigerator as well‚ ensuring a comprehensive clean.
Replacing the Water Filter
Maintaining a fresh water filter is crucial for clean-tasting water and ice. The recommended replacement frequency is every six months‚ or sooner if water flow diminishes. Begin by locating the water filter‚ typically inside the refrigerator compartment or at the base grille.
Before removing the old filter‚ shut off the water supply to the refrigerator. Gently twist and pull the filter downwards to release it. Install the new filter by aligning it with the housing and twisting it into place until it locks.
After installation‚ flush the system by dispensing water for several minutes to remove any air or debris. Reset the filter indicator light according to the instructions in your model’s specific guide. Proper filter replacement ensures optimal water quality and prevents potential issues with the water dispenser and ice maker.
Troubleshooting Common Issues: No Cooling
If your Kenmore Elite refrigerator isn’t cooling‚ first check the temperature settings to ensure they are appropriately adjusted for both the refrigerator and freezer compartments. Verify the power cord is securely plugged into a functioning outlet. A tripped circuit breaker or blown fuse can also cause a loss of cooling.
Inspect the condenser coils‚ usually located at the back or bottom of the refrigerator‚ and clean them thoroughly with a vacuum cleaner brush attachment. Dirty coils restrict airflow and reduce cooling efficiency. Ensure the door seals are clean and creating a tight seal; compromised seals allow warm air to enter.
If the issue persists‚ consult the user manual for specific error codes or contact a qualified appliance technician for assistance. Avoid prolonged troubleshooting without professional help‚ as it could potentially worsen the problem.
Troubleshooting Common Issues: Water Dispenser Problems
If your Kenmore Elite refrigerator’s water dispenser isn’t working‚ begin by confirming the water supply is turned on to the refrigerator. Check the shutoff valve‚ typically located under the sink or behind the refrigerator‚ to ensure it’s fully open. A clogged water filter is a common culprit; replace it with a new‚ genuine Kenmore filter.
Inspect the water line tubing for any kinks or freezing‚ especially if the refrigerator is in a cold location. Air in the water line can also cause issues; dispense water continuously for several minutes to purge any trapped air. If the dispenser operates slowly‚ this could also indicate a partially clogged filter or water line.
For persistent problems‚ consult the user manual or contact a qualified technician.
Troubleshooting Common Issues: Ice Maker Problems
If your Kenmore Elite refrigerator’s ice maker isn’t producing ice‚ first verify the ice maker is turned ‘on’ within the refrigerator’s settings. Ensure the water supply to the refrigerator is fully connected and the shutoff valve is open. A frozen water line is a frequent cause; inspect the tubing for any signs of freezing‚ particularly in colder environments.
A clogged water filter restricts water flow to the ice maker‚ so replacing it is a good first step. Check the ice bin for any obstructions preventing ice from ejecting. If the ice maker is cycling but not producing ice‚ air may be trapped in the water line – dispense water for a few minutes to clear it.
For continued issues‚ consult the manual or a service professional.

Advanced Features & Settings
Explore specialized functions like the door alarm‚ Sabbath Mode for specific observances‚ and Vacation Mode to conserve energy during extended absences.
Door Alarm Functionality
The Kenmore Elite refrigerator is equipped with a door alarm designed to alert you if a refrigerator or freezer door is left open for an extended period. This feature helps to maintain optimal temperatures‚ preserve food quality‚ and prevent energy waste. The alarm will sound after approximately two minutes if a door remains ajar.
To silence the alarm‚ simply close the door completely. If the door is intentionally left open for loading or unloading‚ you can temporarily disable the alarm by pressing the ‘Alarm’ button on the control panel (if your model has this feature – consult your specific model’s control panel diagram). Remember to re-enable the alarm afterward to ensure continued protection.
Regularly check that doors are sealing properly. If the alarm sounds frequently even with the doors closed‚ inspect the door gaskets for damage or debris. A faulty gasket can allow warm air to enter‚ triggering the alarm and impacting cooling performance. Proper door sealing is crucial for efficient operation and food preservation.
Sabbath Mode Operation
The Sabbath Mode is a special setting designed to comply with Jewish Sabbath observance practices. When activated‚ this mode disables several features that would normally operate automatically‚ such as the ice maker‚ water dispenser‚ and certain display functions. This prevents operation that might be considered work on the Sabbath.
To activate Sabbath Mode‚ press and hold the ‘Sabbath Mode’ button on the control panel for approximately three seconds. The display will indicate that Sabbath Mode is active. During this mode‚ the refrigerator and freezer will maintain their set temperatures‚ but the dispenser and ice maker will be inactive.
To deactivate Sabbath Mode‚ repeat the process – press and hold the ‘Sabbath Mode’ button for three seconds. The refrigerator will return to its normal operating settings. Refer to your model’s specific control panel diagram for the exact location of the ‘Sabbath Mode’ button‚ as it may vary slightly.
Vacation Mode Settings
Vacation Mode is a useful feature for energy conservation when you’re away from home for an extended period. When activated‚ the refrigerator compartment temperature is adjusted to a warmer setting‚ typically around 40°F (4°C)‚ while the freezer maintains its normal temperature. This reduces energy consumption without completely shutting off the refrigerator.
To enable Vacation Mode‚ locate the ‘Vacation Mode’ option on the control panel. Press and hold the button for three seconds until the indicator light illuminates. The refrigerator will then adjust to the warmer temperature setting. Remember that food spoilage can occur more quickly at this temperature‚ so consume perishable items before activating the mode.
To deactivate Vacation Mode‚ simply press and hold the ‘Vacation Mode’ button again for three seconds. The refrigerator will return to its previously set temperature. Allow sufficient time for the refrigerator to cool down before restocking with fresh food.